How to Set up Treatlife Widgets: Four Steps to Follow
|
|
Time to read 2 min
|
|
Time to read 2 min
Convenience is given top priority in the field of smart home technology. Treatlife Widgets stands out when it comes to managing all of your smart gadgets with a one tap. Managing your smart home is simple thanks to these helpful shortcuts on your device's home screen. We'll walk you through the quick setup procedures for Treatlife Widgets in this guide so you can advance your smart home experience.
You may add Treatlife Widgets—simple, interactive icons—to the home screen of your phone. Without having to open the Treatlife app, they provide you quick access to your Treatlife smart devices and manual scenes and let you control them with a single tap.
Instant Control: Widgets allow you to turn on/off lights, switches, and plugs as well as start manual scenes with just a single press, without the need to launch the app. Just imagine how helpful the Treatlife Widgets are when you have to leave for work quickly and forget to turn off the lights, fans, or air conditioners in the house.
Efficiency: Widgets make routine actions quicker and more efficient, saving you time and effort in managing your smart devices.
Customization: You can choose which devices or scenes to feature on your home screen, tailoring it to your specific needs
Let's get started with the process for creating Treatlife Widgets on your mobile device. Please kindly note that the setup process for Android might be slightly different in different Android devices, however, the major steps are similar.
For Android:
Step 1
Long Press on Home Screen: Find an empty space on your device's home screen and long-press it. This action will open a menu. Then look for an option labeled "Widgets" or "Add Widgets" in the menu and tap it.
Step 2
Find Treatlife Widgets: Scroll through the list of available widgets until you find the Treatlife widget options.
Step 3
Choose Widget Size: Select a size to display on your home screen and drag it to your desired location on the home screen.
Step 4
Select Desired Devices or Scenes: Tap the widget to configure it. You'll be prompted to choose which devices or scenes to include on the widget. Select the ones you want to control directly from your home screen and save the settings.
For iOS:
Step 1
Go to Today View: Swipe right on your iPhone's home screen to access the Today View and tap “Edit”.
Step 2
Tap "Customize": Scroll down and tap the "Customize" button at the bottom of the Today View. You'll see a list of available widgets.
Step 3
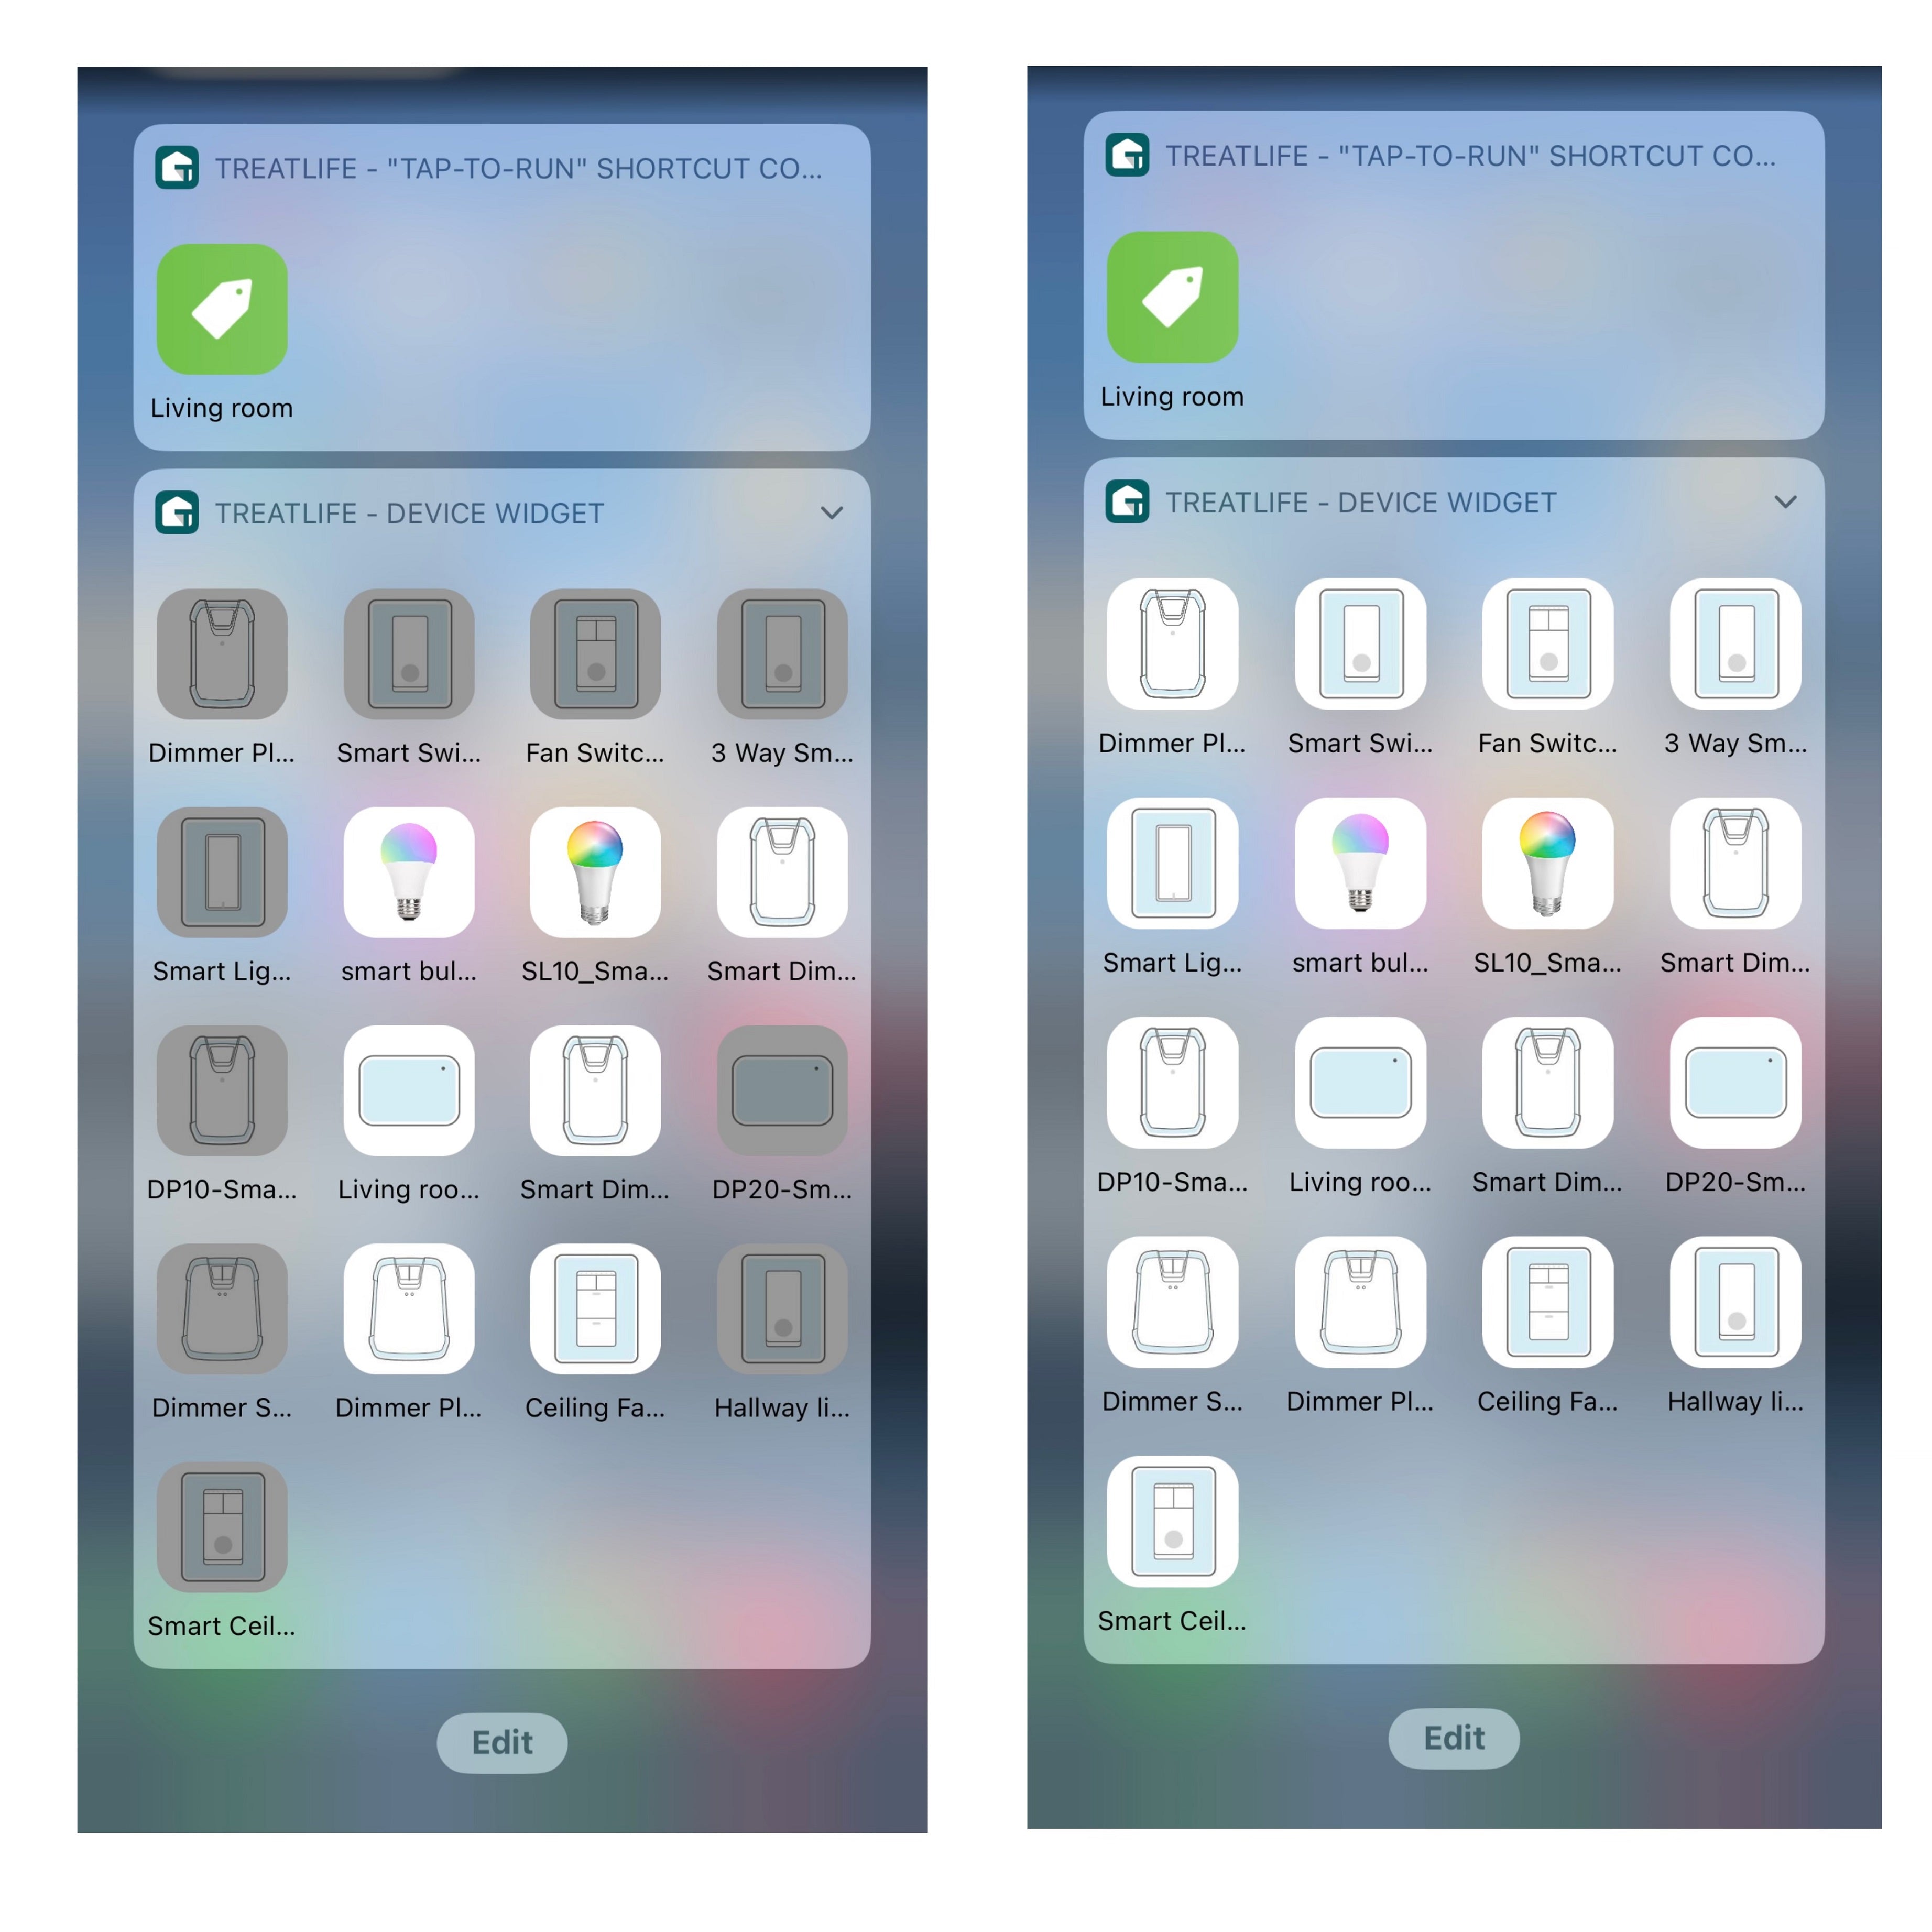
Add Treatlife Widgets: Look for "Treatlife - Device Widget" and “Treatlife - Tap-to-run Scene” in the list and then tap the green "+" icons next to then to add them to your Today View.
Step 4
Tap the three lines (≡) next to the Treatlife Widget to reorder if necessary. Last, save your changes, and you're all set with your Treatlife Widget.
With your Treatlife Widget set up, controlling your smart devices is a breeze:
Tap to Control: Simply tap on a device or scene icon on the widget to turn it on or off or activate scenes.
Enjoy Convenience: Say goodbye to fumbling through apps or voice commands for routine tasks. The power of your smart home is now at your fingertips.
Personalize Your Home Screen: Customize your home screen with Treatlife Widgets to match your daily routines and preferences.
That's it! It's simple and efficient to create Treatlife Widgets for smart home control. Enjoy the simplicity and effectiveness of manual scene execution and device control with just one tap from your home screen. Treatlife Widgets can help you make your smart home even smarter right now.