
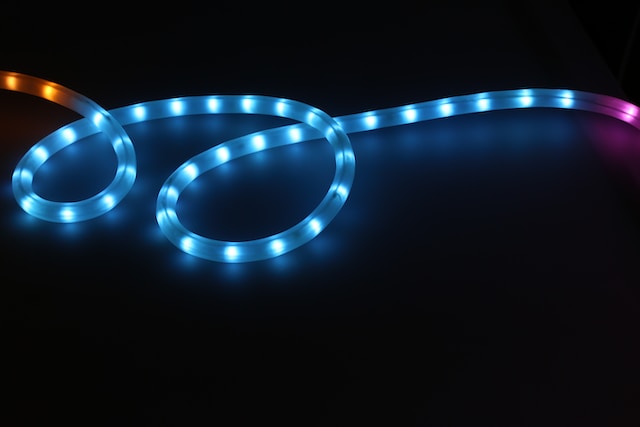
How to Install Smart LED Strip Lights? 5 Steps to Follow
|
|
Time to read 2 min
|
|
Time to read 2 min
Before ordering your smart lighting, you need to know how much you need in the first place. Measure each area in which you are planning to install the smart LED strip lights and add all the numbers up.
Tip: By an inch or two more than you need – you will later need to cut the lights out on your own, so it’s always good to have a margin of error.
If you want your LED strip lights not to fall off, you need to thoroughly clean the surface you are going to install them on. It has to be absolutely spotless – use soap, water or vinegar to ensure that it is done properly.
Tip: Remember that the surface should be smooth – there is no way how you can permanently install smart LED strip lights on textured surfaces or painted drywall.
Some guides suggest cutting the lights during installation, yet we advise you to do this beforehand. It is going to be easier for you, since you won’t have any distractors during the installation itself.
Tip: Each product has a manual – check it to see where you can cut your smart LED strips without damaging the lights.
Peel a part of the backing of the adhesive strip and start placing the lights. Do it continuously until you cover the whole area. Repeat in other places that you want to put your LED strips in.
Tip: You need to hold the adhesive for at least 10 seconds for the strip to properly stick.
Now all you have to do is connect your smart LEDs with the hub, and set them up. Create the right atmosphere for sleeping, eating, working, and more!
Tip: Check our article on how to integrate smart home devices!
We hope that after reading this guide, you know how to install smart LED strip lights. If you are looking for the best ones available, check our products – we have a wide variety of smart lighting, switches, and sensor for you to choose from!
Did you like this guide? Then you should definitely read our other article: How to Trigger Your Switches Faster When Motion Detected: A Step-by-Step Guide


